Grandmothers: The Beginning of Everything
Some of my earliest childhood memories involve making a mess in the kitchen. As a five-year-old, there were the dogged attempts at replicating the chocolate biscuit truffles I’d seen my mum make. Enlisting the help of Christopher, the kid next door, we’d hoist ourselves onto the kitchen worktop, raid the larder cupboard and deliberate over those jars and bottles whose contents were a mystery. We were indiscriminate with our choice of ingredients and liberal with the quantities. Everything went into the bowl: peanut butter, cocoa powder, brown sugar. So far, so good, right? Tabasco, soya sauce… It often started off promising, but somehow we could never resist the urge to find out what it would taste like if we added just a little bit of mustard powder...
When it came to culinary experimentation I had a kindred spirit in my grandmother, Mary. She, too, had her share of culinary missteps (her pineapple pizza on a soda bread base is a classic example). Mary wasn’t one for weighing scales or following recipes: she came from the ‘handful of this and a handful of that’ school of baking. Saturdays and school holidays spent at grandma’s house inevitably involved rolling up one’s sleeves, greasing a raft of loaf tins and mixing together the ingredients she threw by the handful into a series of enormous, chipped, ceramic bowls. During the hour the loaves would spend rising in the oven the house was filled with the smells of home baking that to this day bring me back to her warm, bright kitchen that looked out onto the great horse chestnut tree.
The descent of the prickly chestnuts each September heralded the fruit-picking season, when Mary would assemble a small army of grandchildren and steer us across the fields to relieve the brambles of their load. Invariably we’d return bemoaning a multitude splinters and scratches, but always eagerly anticipating the opportunity to stir the jam pot, and the deluge of blackberry pies that would soon be distributed among family, friends and neighbours.
My maternal grandmother, Rita, who I never knew as she passed away when I was very young, is said to have turned out a mean treacle bread, and a scrumptious raisin bread that my mum still reminisces about. Rita wasn’t one for weighing scales either. She was quite the creative, on occasion spotting a dress or an outfit in a shop and deciding that instead of buying it, she’d just make one herself. My sewing and knitting skills are far from impressive, but I feel fairly sure I’ve inherited her DIY ethic when it comes to adventures in the kitchen.
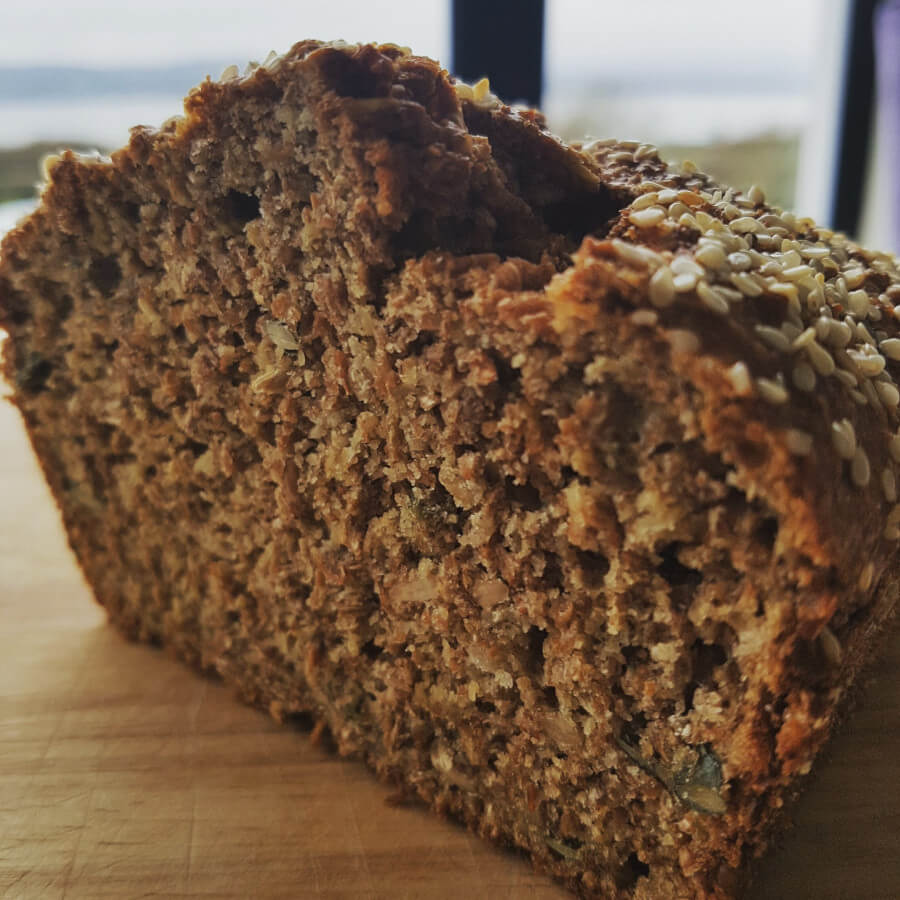
A Traditional* Irish Soda Bread
So for my inaugural blog, and to pay homage to my formidable grandmothers, I’m beginning with a tried and tested recipe for Irish wheaten bread (a variation on a recipe given to me by the wonderful Deirdre Doherty), which I promise you’ll want to make again and again. Following on from the wheaten bread, I’ve included a gluten-free, wheat-free alternative – an oat soda bread. It follows the same recipe format and gives the same beautiful texture and soft crumb as the wheaten bread. The pumpkin and sunflower seeds are optional but are a delightful addition to both breads. I’d love to hear what you think!
*almost!


Ingredients
125g plain flour
200g wholemeal flour
50g oats
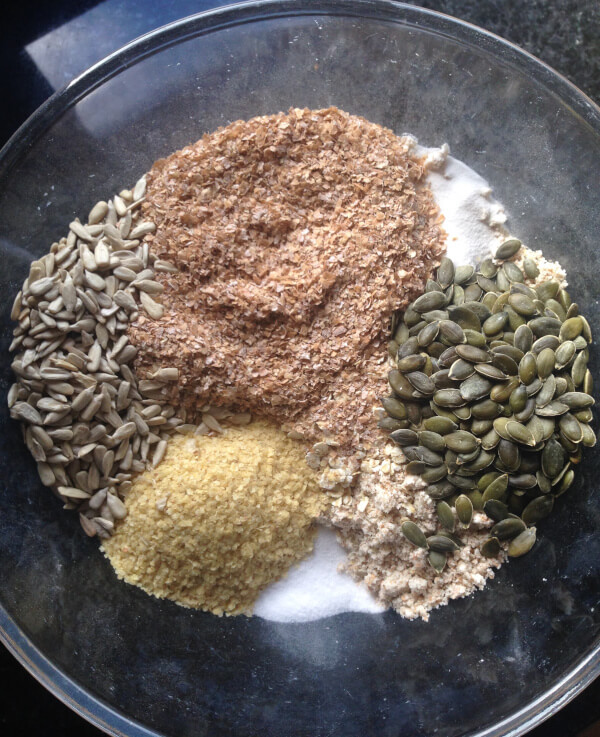
25g wheat bran
25g wheat germ
1 tsp (level) salt
1 tsp (heaped) bicarbonate of soda
25g pumpkin seeds
25g sunflower seeds
400ml unsweetened soya milk
55ml sunflower oil
2 tsp cider vinegar
25ml golden syrup
1 tbsp sesame seeds or oats
Wheaten Bread Method
- Grease and line a loaf tin and preheat the oven to 180°C.
- Mix together the plain flour, wholemeal flour, oats, wheat bran, wheat germ and salt in a large bowl. Sift in the bicarbonate of soda and then stir in the pumpkin seeds and sunflower seeds.
- After measuring out the soya milk in a jug, stir in the cider vinegar. Next stir the oil and golden syrup into the soured milk.
- Make a well in the centre of the flour mixture and add the liquid. Mix well.
- Pour into the greased loaf tin. Smooth the mixture out with a spoon and sprinkle over the sesame seeds or oats.
- Bake for approximately one hour until a knife inserted comes out almost clean (so long as the mixture isn’t wet on the knife the bread is ready!)
- Leave to cool for 10-15 minutes before tipping the loaf out onto a cooling rack. The wheaten bread is easiest to slice when completely cool. Enjoy fresh, or toasted and spread with lashings of extra virgin coconut oil and strawberry jam. Delicious! Granny would definitely approve.
Tip: The loaf will easily last up to five days, but if you’re not going to use it up within this time, slice it, bag it and put it in the freezer, to take out as and when you need it. It tastes as good toasted from frozen as it does on the day it’s made.


Oat Soda Bread
(gluten-free)
375g plain gluten-free flour
75g gluten-free oats
75g gluten-free oat bran
25g pumpkin seeds
1 tsp (level) salt
1 tsp (heaped) bicarbonate of soda
375ml unsweetened soya milk
1 tbsp cider vinegar
55ml sunflower oil
25ml golden syrup
2 tbsp sesame seeds or oats
- Grease and line a loaf tin and preheat the oven to 180°C.
- Combine the flour and oat bran and rub the oil into the mixture.
- Sift in the bicarbonate of soda, then add the oats, salt and seeds and mix well.
- Mix together in a jug the soya milk, cider vinegar, sunflower oil and golden syrup until the milk sours and thickens.
- Make a well in the centre of the flour mixture and add the milk mixture. Mix well.
- Pour into the greased loaf tin. Smooth the mixture out with a spoon and sprinkle over the sesame seeds or oats.
- Bake for approximately 50 minutes until a knife inserted comes out almost clean.
- Leave to cool for 10-15 minutes before tipping the loaf out onto a cooling rack.
Tip: If you have trouble finding gluten free oat bran just double the quantity of gluten free oats instead.
As with the wheaten bread, the maple and oat soda bread is delicious fresh, or toasted and spread with a little coconut oil and strawberry jam. And similarly, if you’re not going to use it up within a couple of days, slice it, bag it and put it in the freezer, to take out as and when you need it.


